Paper photo stand with interlocking system Glueless Papercraft Template – DIY Pattern (Scalable PDF) – Craft No. 2816

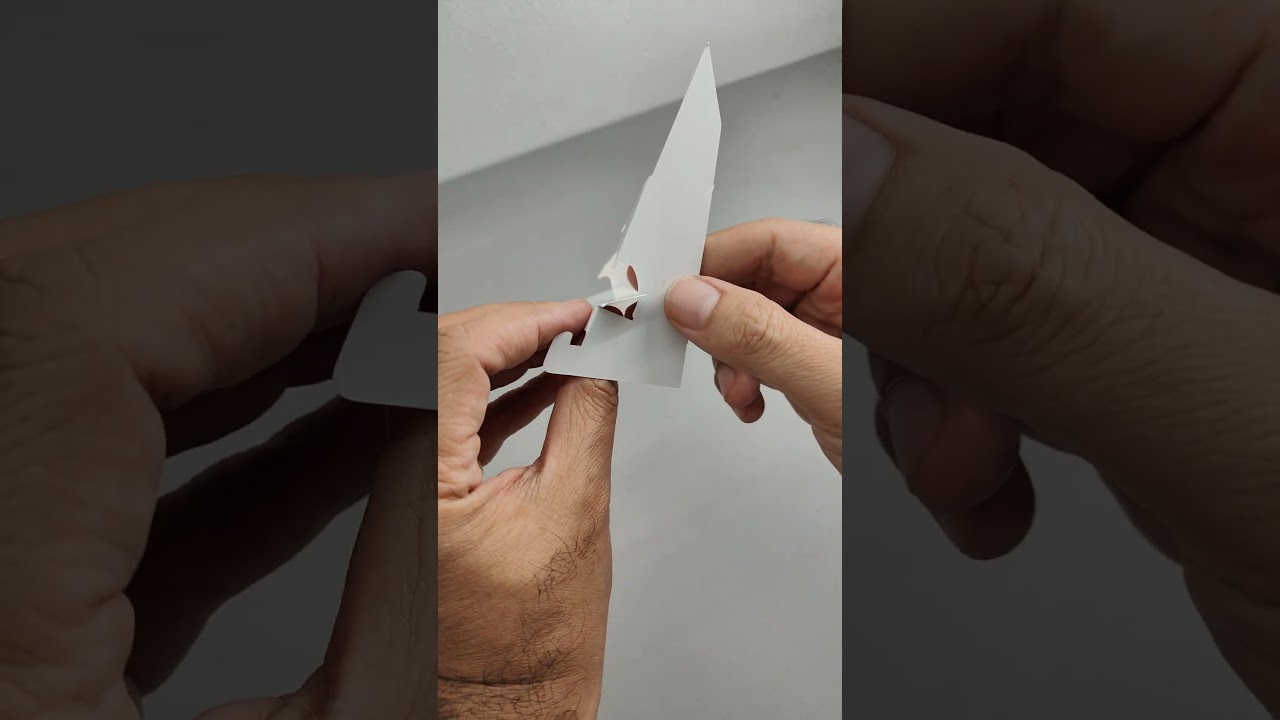
Image 1: Finished DIY Paper template
Description
**NOTE! This is GLUELESS type papercraft template. You DON’T need glue to assemble it. It uses unique interlocking system to hold all parts and make it sturdy!
With this printable template, you can make a sturdy, neat papercraft Paper photo stand with interlocking system craft just like in the photo.
This GLUELESS template is designed for paper with minimum 250gsm thickness. The most optimum thickness to use is 310gsm.
Files included in zip file
-
PDF Instructions (English and Indonesia).
– Step-by-step illustrated instruction with QR-code and link to the video tutorial.
– Secret tips and tricks for neat and sturdy glueless papercraft.
– Scaling/resizing tutorial (yes, you can rescale it to whatever size you want).
-
PDF template file for print (The_Template_2816.pdf).
– Consists of 1 pieces in pages (A4 size paper).
-
Head cushion template if applicable (mainly for headpiece templates).
What makes this papercraft template special?
- This template uses NO GLUE to assemble, but looks neat and sturdy.
- Designed for corrugated cardboard. Unlike paper, corrugated cardboard has thickness. And our template is designed to deal with that!
- A4 Native paper with no splitted template part.
Each pieces inside of this template are less than A4 wide. This gives you three advantages: 1. You don’t need to unify the the splitted template part before applying them to cardboard because no part is splitted. 2. It doesn’t require wide paper, so you can use any cardstock scraps at home like cereal box, and 3. Easier to print because A4 paper and printer are widely available worldwide.
- It use easy-to-find tools
- All is tested before we publish it. You can check on our Youtube channel for the real non-cut video walkthrough.
- Each template has comprehensive step-by-step tutorial with videos.
How to make Paper photo stand with interlocking system papercraft
Tools and Materials Needed
You can use the SVG file if you use automatic cutting machine like Silhouettes or Cricut. But you can also manually cut it using the following easy to find tools:
- Cutter
- Cutting mat
- Scissor
- Ruler
- flat screwdriver
Step by step instruction
If you use automatic cutting machine like Silhouettes or Cricut, you can import the SVG tho the software and cutting it. You may need to check your machine user manual on how to use svg for the cutting template. Each brand might be different but this template has been tested on Silhouette Cameo 5.
Otherwise you can also manually cut it using cutter (see the tools above)
- Print the PDF template (The_Template_2816.pdf) on minimum 250gsm paper. If your printer are able to print thicker paper, try on 310gsm. That is the best thickness. If not check on the step 2 and 3
- If your printer cannot print thick paper OR you are willing to use used cereal box, you can print it first on the paper or A4 sticker label
- Stick the template into the thick paper or cereal box
- Cut the paper along the straight red line (cut line)
- Use a flat screwdriver and a ruler to score along the fold lines (the dashed blue line)
- Fold the cardboard along scored lines
- Assemble it. Check on the assembly video provided to see the steep
The walkthrough video of making the Paper photo stand with interlocking system papercraft on the photo above is available on the following link
Paper photo stand with interlocking system papercraft video tutorial walkthrough
Our designs are protected by copyright law.
Follow us on Instagram (@krafstudio) so you don’t miss any upcoming releases!
*All trademarks, logos and brand names are the property of their respective owners. All company, product and service names used in this website are for identification purposes only. Use of these names,trademarks and brands does not imply endorsement.